In this article, we will see how to configure two pfSense servers in cluster mode to ensure high availability service.
pfSense is one of the few open-source solutions offering high-availability techniques.
Network Diagram
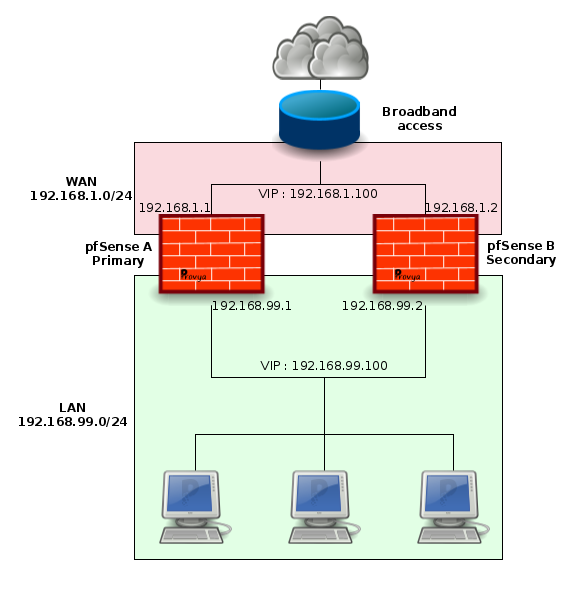
LAN:
- Network net: 192.168.99.0/24
- pfSense A IP: 192.168.99.1
- pfSense B IP: 192.168.99.2
- CARP Virtual IP: 192.168.99.100
WAN:
- Network net: 192.168.1.0/24
- pfSense A IP: 192.168.1.1
- pfSense B IP: 192.168.1.2
- CARP Virtual IP: 192.168.1.100
How it works
The high-availability techniques includes 3 main components:
- CARP : a protocol for configuring a virtual IP which is used by pfSense. This virtual IP is taken over by the secondary server if the primary server encounters a problem.
- pfsync : a protocol used to synchronize the status of current connections between two pfSense servers (and more globally between two servers running Packet Filter).
- XML-RPC : a protocol for replicating data from one server to another. It is used in pfSense to replicate the configuration from the primary server to the secondary server.
1. Configuring virtual IPs
In order to function, each pfSense server must have an unique IP address on its interface, as well as a virtual IP address which will be shared between the two pfSense servers.
Therefore, pfSense needs 3 IP addresses per network.
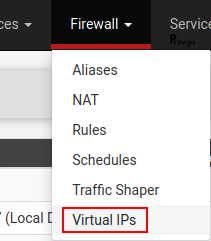
On the primary server, navigate to Firewall > Virtual IPs :
Click on the “+ Add” button.
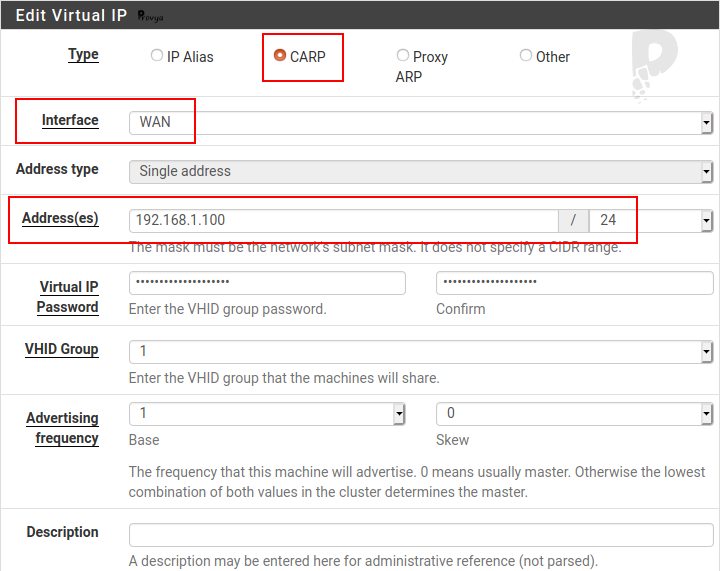
The fields to be filled in are the following:
- Type: CARP
- Interface: WAN
- Address(es): the virtual IP with the mask of this interface. In our case: 192.168.1.100/24
- Virtual IP Password: a password…
- VHID Group: let pfSense choose it. It should be unique per virtual IP
- Advertising frequency: let pfSense choose it. The “base” field is the advertising frequency in second. The “skew” field is the phase shift. 0 means usually primary server.
We perform the same configuration on the LAN interface.
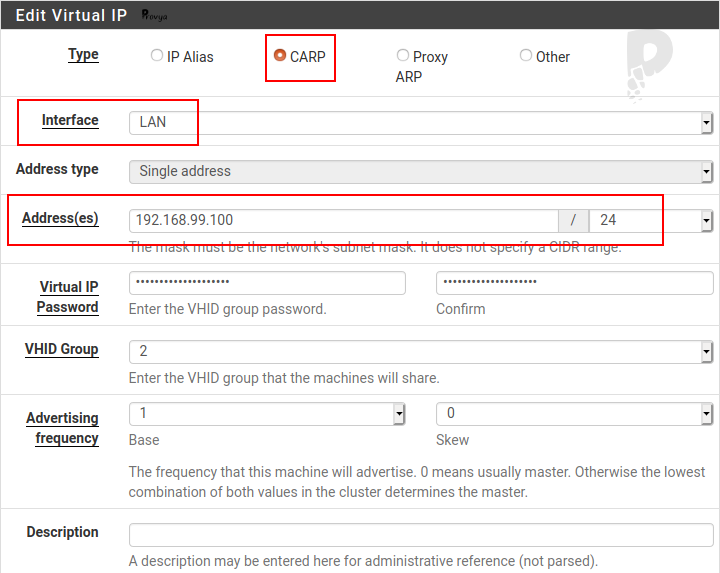
Once done click on the “Apply Changes” button.
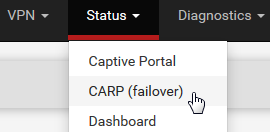
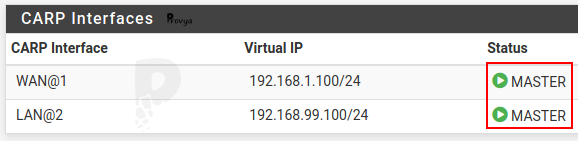
We can check the status of our virtual IP addresses from the menu Status> CARP (failover):
Both WAN and LAN virtual IP addresses are “Master“:
All these configurations about virtual IPs must be performed on the primary pfsense (pfSense A) only.
2. Forcing the use of virtual IP addresses
The virtual IPs are configured but not used.
To do this, we need to configure pfSense to use the WAN VIP address for outbound traffic, the LAN VIP address for inbound traffic, and configure the different services to work with the LAN VIP address as the default address (for OpenVPN or DHCP configuration, for example).
All these configurations must be performed on the primary pfsense (pfSense A) only.
Configuring Outbound NAT
Got to Firewall > NAT, Outbound tab.
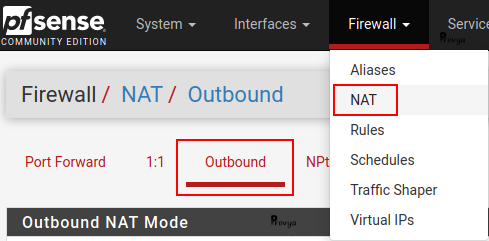
Check the button called “Hybrid Outbound NAT rule generation. (Automatic Outbound NAT + rules below)”. Then click on Add button.
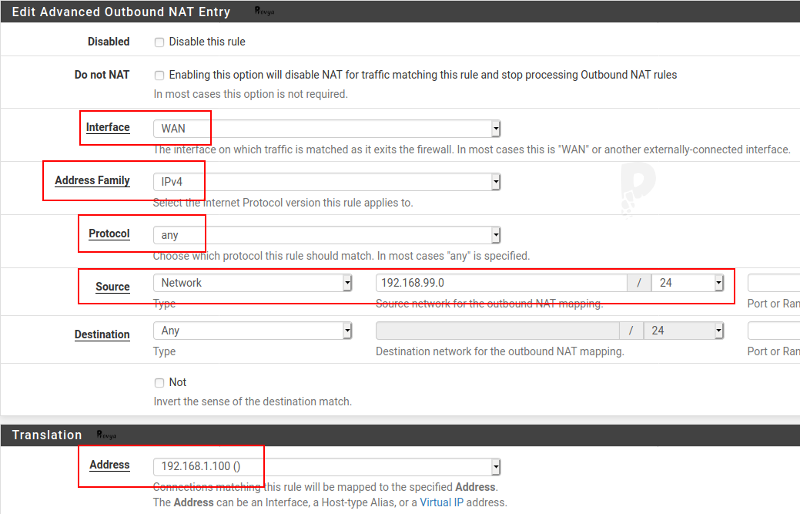
The fields to be filled in are the following:
- Interface: WAN
- Address Family: IPv4
- Protocol: any
- Source: Network – 192.168.1.0/24 (i.e. the LAN subnet)
- Destination: Any
- Address (Translation): 192.168.1.100 (i.e. the VIP address on the WAN interface)
Once done we click on the “Apply Changes” button.
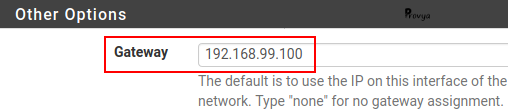
Configuring DHCP Server
If pfSense is the DHCP server on the network, we are going the change its configuration. We go to Services > DHCP Server.
We modify the “Gateway” field to indicate the VIP address (192.168.99.100).
For more information about DHCP server configuration: [pfSense] How to configure the DHCP service.
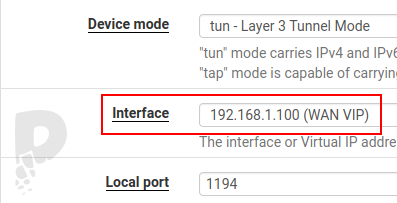
Configuring OpenVPN Server
If an OpenVPN server is configured on the pfSense, we modify the service listening interface (normally “WAN”) to replace it with the VIP address (192.168.1.100).
This modification is done in VPN > OpenVPN, Servers tab.
More information about the configuration of the site-to-site OpenVPN instance: [pfSense] Configuring a Site-to-Site OpenVPN Instance.
More information about the configuration of a remote access with OpenVPN: [pfSense] Secure remote access for your home-office workers with OpenVPN.
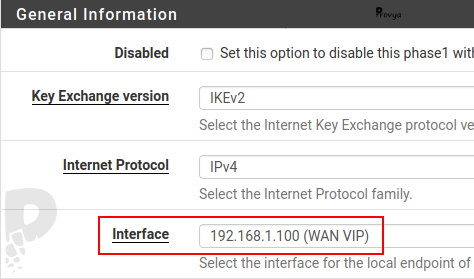
Configuring VPN IPsec Service
If an IPsec tunnel is configured on the pfSense, it is necessary to modify the IPsec VPN listening interface (normally “WAN”) to replace it with the VIP address (192.168.1.100).
This modification is done in VPN > IPsec, then in the phase 1 part.
More information about the configuration a site-to-site IPsec VPN: [pfSense] Configuring a Site-to-Site IPsec VPN.
We have cover the main services impacted with virtual IPs.
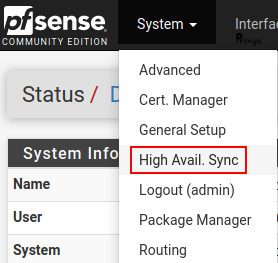
3. Configuring the High Availability
We still have to configure the high availability service.
Go to System > High Avail. Sync:
On this page there are two things to configure: pfsync (states synchronization) and XMLRPC Sync (configuration synchronization).
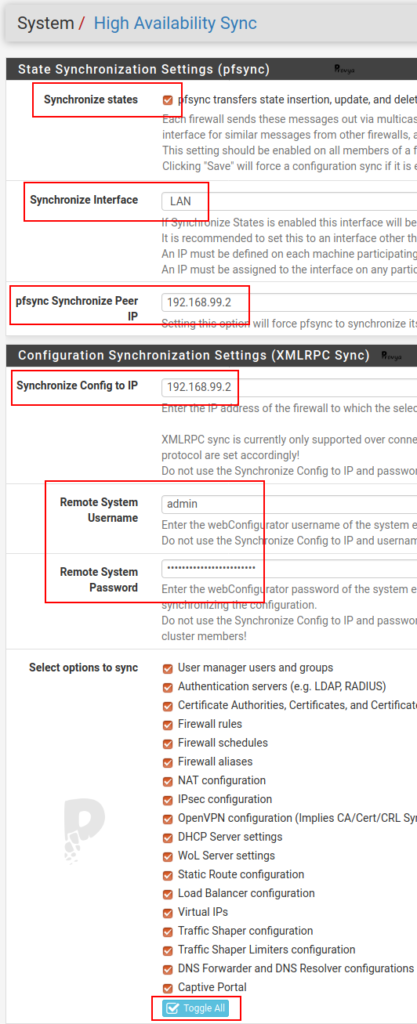
State Synchronization Settings (pfsync)
The fields to be filled in are the following:
- Synchronize States: check this case to activate pfsync.
- Synchronize Interface: if you don’t have a dedicated interface for the synchronization between the two nodes, just choose “LAN”. That’s what we do in our case.
- pfsync Synchronize Peer IP: the IP address of the pfSense B. In our case: 192.168.99.2
Configuration Synchronization Settings (XMLRPC Sync)
The fields to be filled in are the following:
- Synchronize Config to IP: on the primary pfSense (pfSense A), enter the IP of the secondary pfSense (pfSense B). In our case: 192.168.99.2. Keep in mind that it must be the same IP that you entered previously in the “pfsync Synchronize Peer IP” field. This field must be left blank on the secondary pfSense (pfSense B).
- Remote System Username: on the primary pfSense (pfSense A), enter the username to access to the secondary pfSense (pfSense B) – it should be “admin” by default. This field must be left blank on the secondary pfSense (pfSense B).
- Remote System Password: on the primary pfSense (pfSense A), enter the password of the admin account (or the alternate account you chose). This field must be left blank on the secondary pfSense (pfSense B).
Then we check the services we want to synchronize. The default is all services (click the Toggle All button).
Once done, click on the “Save” button.
Allow replication flows in the firewall rules
Last thing to do is to authorize the network flows for the replication process.
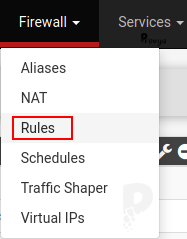
Go to Firewall > Rules.
There are two network flows to allow:
- XML-RPC synchronization which is done on port 443.
- pfsync protocol synchronization.
The easiest way to do is to create an alias with the LAN IP addresses of the two pfSense servers :
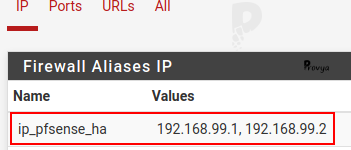
Then we create a firewall rule with the alias :

Good news. The configuration is done!
We can do some tests…
First of all, at this step, it is important to make a backup of your both pfSense servers (“Diagnostics” > “Backup & Restore”).
Then, to test the proper functioning of the high availability, several tests can be performed. Here are a few examples:
- stop the primary pfSense ;
- disconnect the network cable from the LAN or WAN interface of the primary pfSense ;
- disable the CARP service on the primary pfSense (“Status” > “CARP (failover)”) ;
- download a file or launch ping requests when switching from primary to secondary server
Related topics
[pfSense] Multiple WAN Connections
[pfSense] Upgrading pfSense (how-to)
[pfSense] Making automatic backups with AutoConfigBackup
[pfSense] Limit maximum bandwidth per user with Limiters
Take a look at our SSD firewalls
For pfSense or OPNsense
French quality
3 year warranty


Hi sir!
How to swap MASTER to BACKUP on LANs Network when link Wan1 down (disconnect the network cable WAN interface on Primary node)
Hi,
It is automatic.
You probably have an inconsistent IP settings (like one LAN is set to DHCP6 and the other to None, or something like that). Double check the interface configurations.
Guillaume
—
Provya
hi Provya, nice article!!!
If I have vlans, I need to configure the VIP for all of them?
From what I understand, you are only using one WAN. Is that correct?
I ask, because our ISP provides only the IP routable to our GW.
HI let me know how to configure dual wan
Hi,
Please check: [pfSense] Multiple WAN Connections