It is necessary to be able to offer remote access solutions to its travelling or teleworking users.
These accesses must be secure and reliable.
Good news, pfSense and OpenVPN are the ideal solution for this need! 🙂
OpenVPN = the perfect solution for home-office users
OpenVPN is easy to implement and is compatible with all types of platforms (Windows, Mac, Android, iOS, …)

Please note:
This article does not cover site-to-site mode configuration of OpenVPN (shared key or X.509).
If you are looking for a site-to-site OpenVPN tutorial, please go on [pfSense] Configuring a Site-to-Site OpenVPN Instance.
How it works
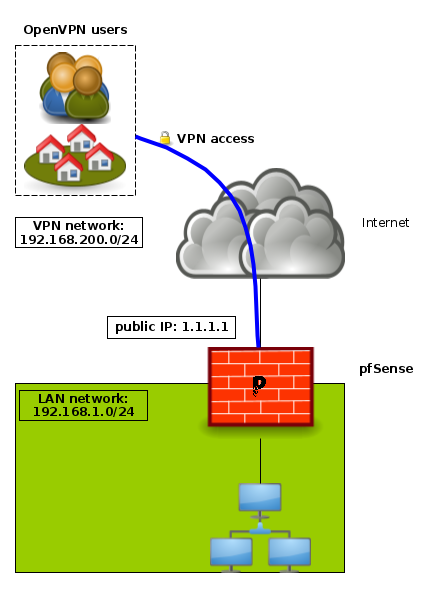
The goal is to offer a VPN solution for travelling or teleworking users allowing them to have secure access to the company’s LAN.
These users can use a computer or a smartphone to connect.
In all cases, they will use an OpenVPN client.
In our implementation example, we will use the following infrastructure:
- LAN subnet: 192.168.1.0/24
- OpenVPN subnet: 192.168.200.0/24
Configuring the OpenVPN server
On the OpenVPN server side, we have to follow these steps:
- create a Certificate Authority (C.A.)
- create a server certificate
- create the user accounts
- configure the OpenVPN server itself
- configure the appropriate firewall rules
- export configuration for each user
Let’s go!
1. Certificate Authority
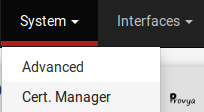
Go to System > Cert Manager:
In the “CAs” tab (the default tab), click on the “+ Add” button at the bottom right of the list of existing CAs.
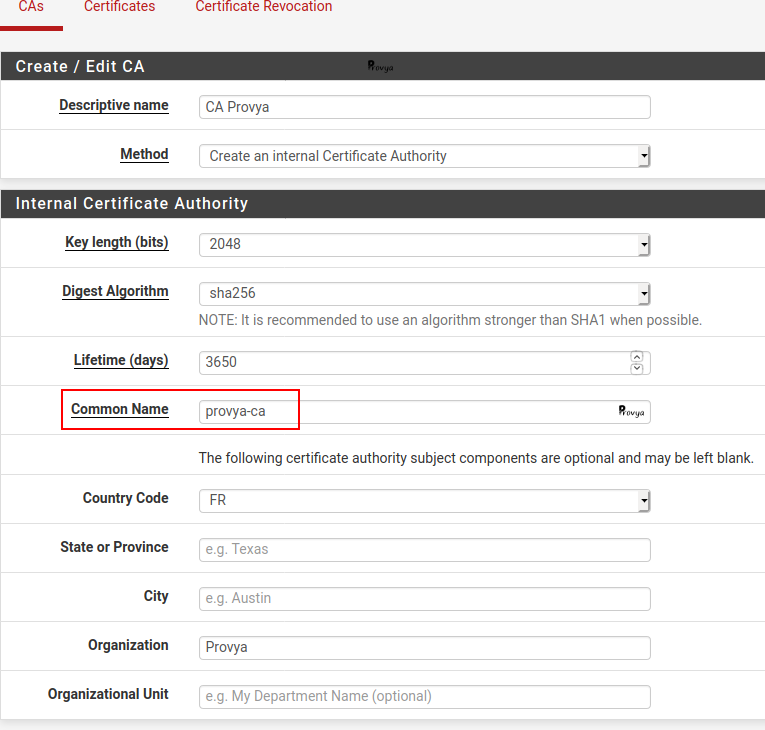
The fields to be filled in are the following:
- Descriptive name: the name we wish to give to our Certificate Authority
- Method: 3 methods are available
- Import an existing Certificate Authority: allows to import the certificate (public key + private key) of an existing certificate authority ;
- Create an internal Certificate Authority: allows to create a new Certificate Authority ;
- Create an intermediate Certificate Authority: allows to create an intermediate Certificate Authority. This intermediate Certificate Authority must be attached to an existing Certificate Authority.
In our case, we choose Create an internal Certificate Authority.
- Key length: the length of the certificate encryption key. The longer it is, the more secure it will be (but the impact on the CPU load will be higher too…). We keep the default value: 2048.
- Digest Algorithm: the hash function that will be used. We keep the default value: SHA256.
- Lifetime: the lifetime of the Certificate Authority. We keep the default value (3650 days, i.e. 10 years).
- Country Code: your ISO country code. US, UK, FR, …
The last important field is the “Common name“: it must be unique.
The other fields are mainly cosmetic and should identify the organization.
We click on the “Save” button. The C.A. is created.
2. Server Certificate
Go in the “Certificates” tab, then click on the “+ Add/Sign” button at the bottom right of the list of existing certificates.
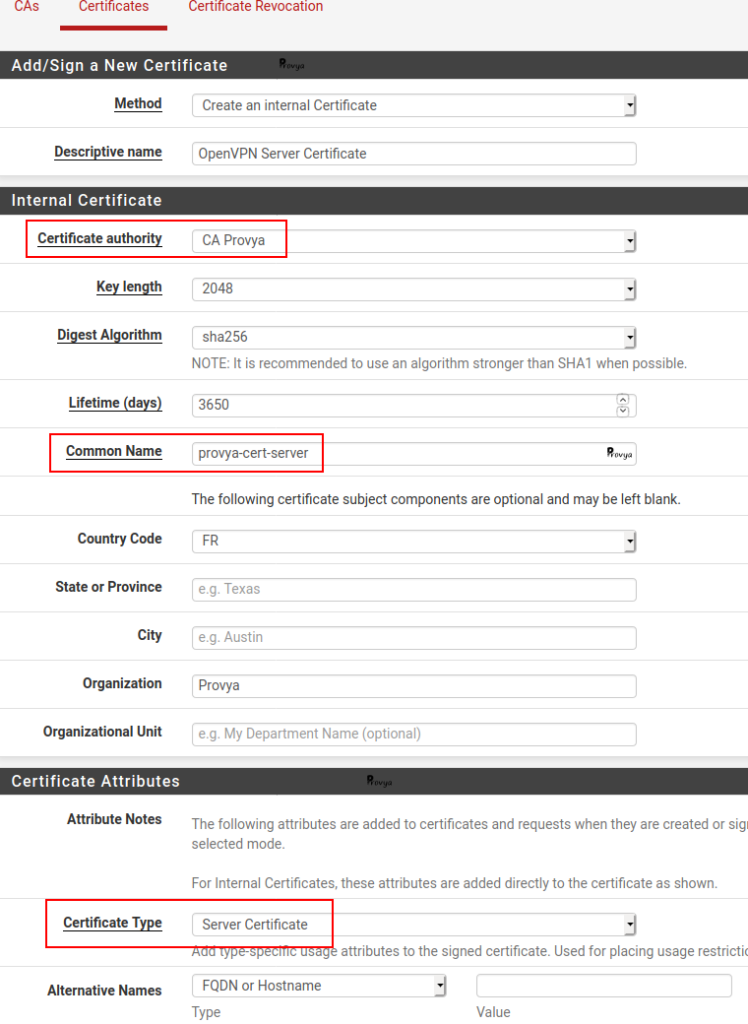
The fields to be filled in are the following:
- Method: like previously there are 3 available methods. We choose Create an internal Certificate.
- Descriptive name: the name we want to give to our server certificate.
- Certificate Authority: the CA that will sign the certificate we are creating. We choose the CA we just created, “CA Provya”.
- Key length: the length of the certificate encryption key. The longer it is, the more secure it will be (but the impact on the CPU load will be higher too…). We keep the default value: 2048.
- Digest Algorithm: the hash function that will be used. We keep the default value: SHA256.
- Certificate Type: user or server certificate. We choose server certificate.
- Lifetime: the lifetime of the Certificate. We keep the default value (3650 days, i.e. 10 years).
The last important field is the “Common name“: it must be unique.
The other fields are mainly cosmetic.
We click on the “Save” button. The server certificate is created.
3. User accounts
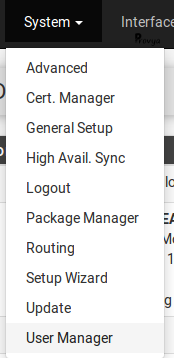
Go to System > User Manager:
First, we create a new group.
Go on “Groups” tab, then click on the “+ Add” button at the bottom right.
Give the name you want to the group. In our case we choose “OpenVPN-users”. Then click on the “Save” button.
Once done, come back on the “Users” tab, then click on the “+ Add” button.
The fields to be filled in are the following:
- Disabled : if you want to disable a user account.
- Username : no space or special characters.
- Password : a strong one!
- Fullname: administrative information only.
- Expiration date : Leave blank if the account shouldn’t expire, otherwise enter the expiration date as MM/DD/YYYY.
- Group Memberships : choose your group. In our case, “OpenVPN-users”.
- Certificate : check this case.
- Descriptive name: a descriptive name for the certificate.
- Lifetime: the lifetime of the certificate. We keep the default value (825 days).
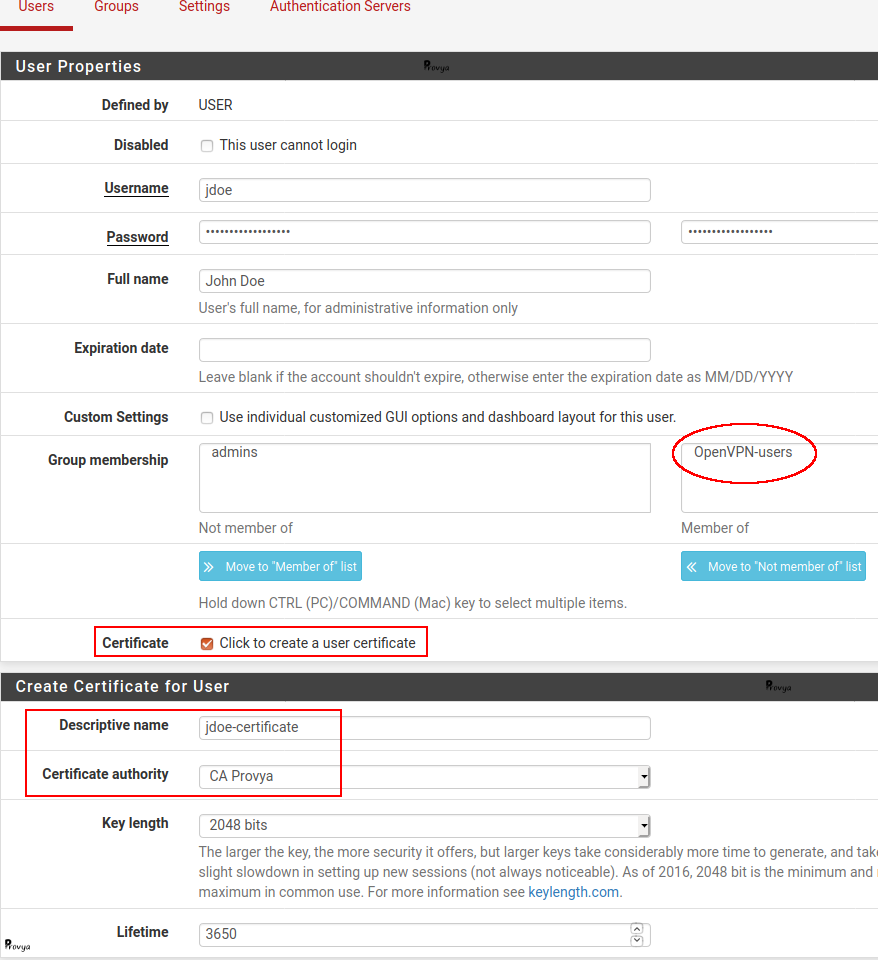
We click on the “Save” button. The user and client certificate are created.
4. Configuring the OpenVPN server
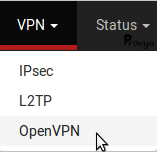
Go to VPN > OpenVPN:
In the “Servers” tab (the default tab), click on the “+ Add” button at the bottom right of the page.
The fields to be filled in are the following:
- Server Mode: choose Remote Access (SSL/TLS + User Auth).
- Protocol: UDP on IPv4.
- Device Mode: tun.
- Interface: WAN, normally. More generally the interface on which the OpenVPN server should be reachable.
- Local port: we keep the default value (1194).
- TLS Configuration: keep the cases “Use a TLS Key” and “Automatically generate a TLS Key” checked.
- Peer Certificate Authority: the CA previously created (CA Provya).
- Server certificate: the server certificate previously created (provya-cert-server).
- Encryption Algorithm: keep the default or choose a stronger one.
- Enable NCP: check that case to enable the Negotiable Cryptographic Parameters.
- NCP Algorithms: choose at least AES-128-CBC and AES-128-GCM (or stronger).
- IPv4 Tunnel Network: the VPN network. In our case 192.168.200.0/24
- IPv4 Local network(s): your local network(s). In our case 192.168.1.0/24
The other settings can keep their default configuration.
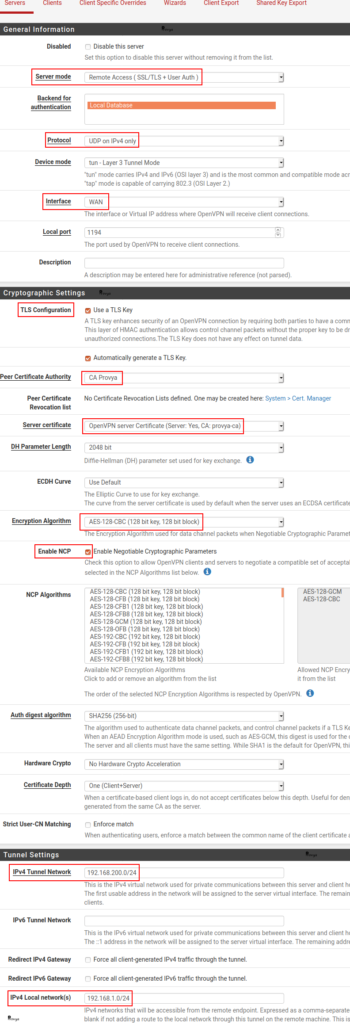
We click on the “Save” button. The OpenVPN server is created.
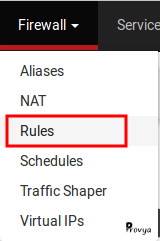
5. Configuring the firewall rules
Go to Firewall > Rules:
Add a firewall rule on the WAN interface (or on the interface on which your OpenVPN is reachable) with the following settings:
- Protocol: UDP
- Source: any
- Destination: this firewall
- Destination port: 1194 (or the port you chose previously)

Then, add a firewall rule on the OpenVPN interface with the following settings:
- Protocol: *
- Source: network – 192.168.200.0/24
- Destination: LAN net
- Destination port: any

Obviously, your firewall rules could be more restrictive or permissive.
6. Export configuration for each user
The more convenient way is to use the pfSense package “openvpn-client-export“.
Go to System > Package Manager
On Available Packages tab search and install openvpn-client-export.
Then, go to VPN > OpenVPN
You will find a new tab: Client Export.
Verify the option Host Name Resolution. If your WAN interface is configured with your public IP address, just keep the default value (i.e. Interface IP Adress). Otherwise choose Other and enter your public IP address.
That’s it, that’s all! You just have to download the right package for the right platform. All the different packages are available at the bottom of the page Client Export.
Related topics
[pfSense] Configuring a Site-to-Site OpenVPN Instance
[pfSense] Configuring a Site-to-Site IPsec VPN
[pfSense] Site-to-site IPsec VPN with overlapping subnets
[pfSense] Limit maximum bandwidth per user with Limiters
Take a look at our SSD firewalls
For pfSense or OPNsense
Assembled in France
3 year warranty