In this article, we present a solution to automatically backup pfSense with a shell script.
We use the shell script bm-backup-pfsense (available on GitHub) proposed by the french website Blogmotion.
How it works?
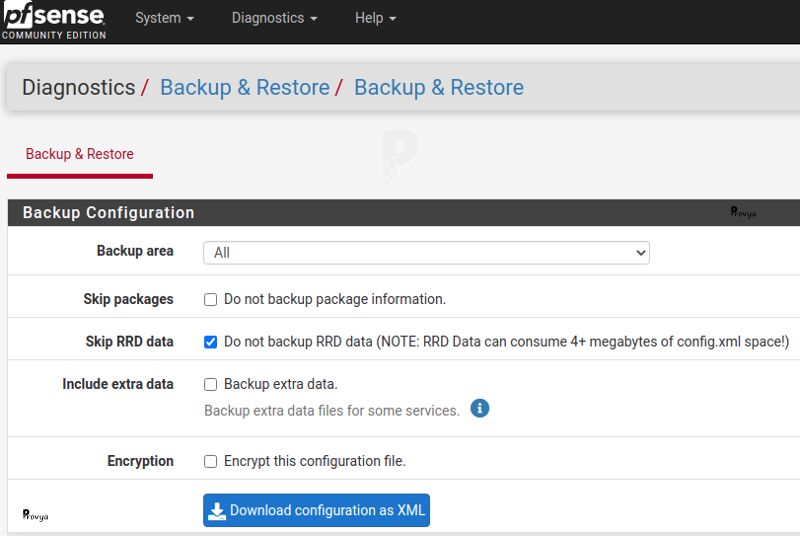
The script will connect to the web interface of pfSense. Then it will go to the “Backup & Restore” page and download the configuration file (config.xml).
A big interest of this script is that it uses the pfSense webGUI to perform the backup. Thus, there is no need to activate SSH access on the pfSense server you want to backup and you can create a user account with the strictly necessary rights to perform the backup.
In general, we recommend to stay away from scripts or applications that require SSH root access on pfSense; this is a very important security risk.
The bm-backup-pfsense script works fine with pfSense 2.4.x and 2.5.x.
Creating a user account
To begin with we create a user account dedicated to the backup.
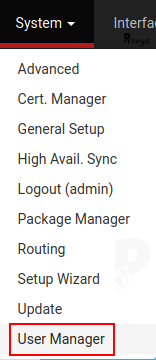
Go to System > User Manager:
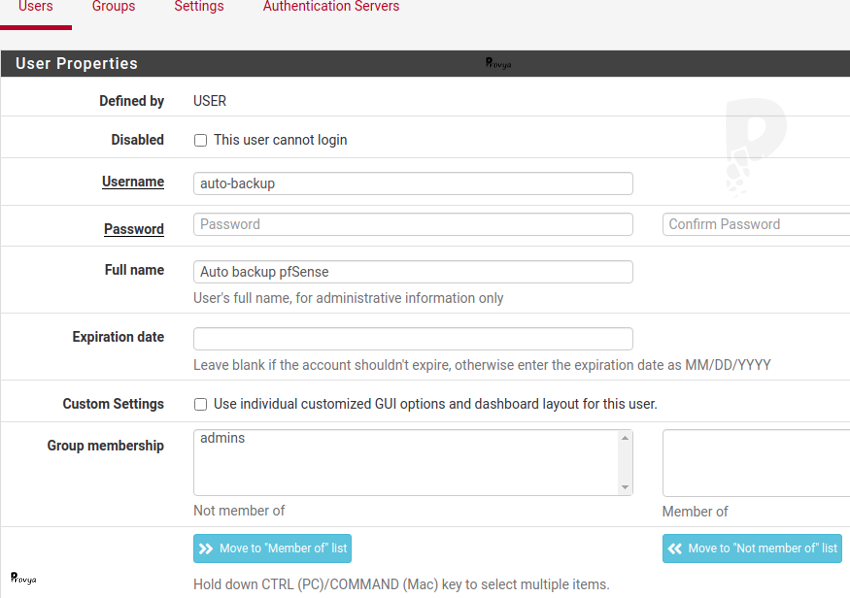
On the “Users” tab (default tab), click on the “+ Add” button.
We create a new user by simply specifying a username and a password. The other fields can be left empty.
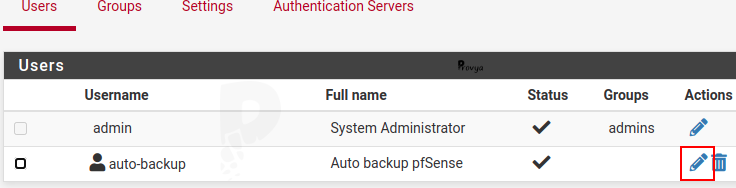
We can now modify this user in order to assign him the proper access rights.
To do this, click on the pencil icon on the line of the user we have just created:
Scroll down to the “Effective Privileges” section and click on the “+ Add” button:
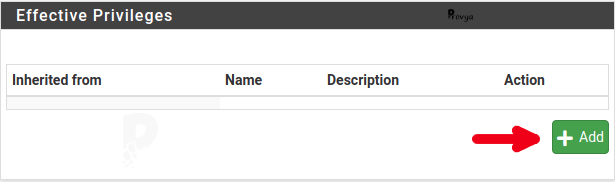
We add the privilege to access to the Backup / Restore page by selecting the line “WebCfg – Diagnostics: Backup & Restore”:
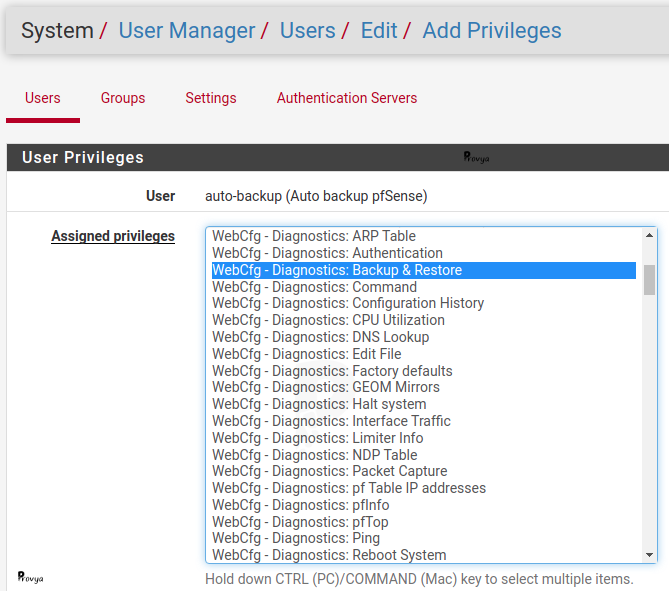
We validate our choice by clicking on the “Save” button, then we save the modification by clicking again on the “Save” button.
Thus, the user “auto-backup” can connect to the pfSense webGUI but will only have access to the Backup & Restore page:
Script configuration
The bm-backup-pfsense script can run on any GNU/Linux distribution or FreeBSD/pfSense server.
In our case, we will run this script from a Linux backup server hosted on our local network (LAN).
We download the script pfmotion_curl.sh.
There are two other versions of bm-backup-pfsense: a version using the wget program and a version allowing to backup several pfSense.
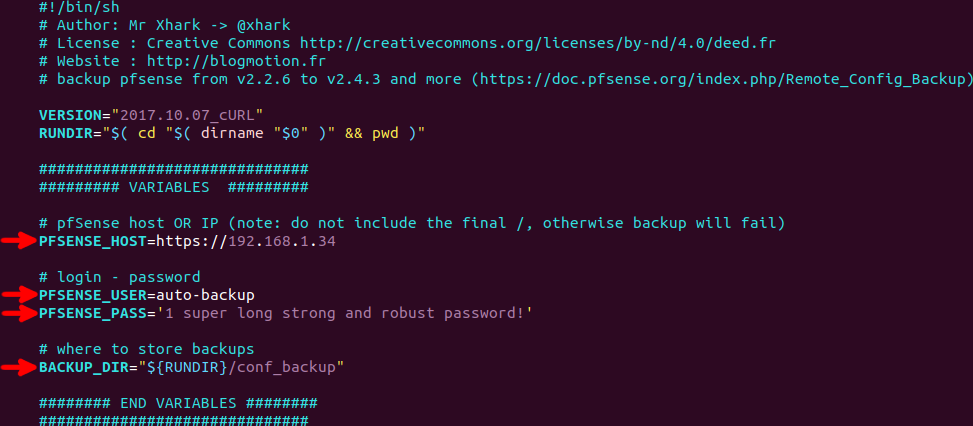
The pfmotion_curl.sh file is very easy to set up; you just have to fill in the following variables:
- PFSENSE_HOST (line 14): the IP address of the pfSense server to save
- PFSENSE_USER (line 17): the user account to connect to pfSense. In our case: auto-backup
- PFSENSE_PASS (line 18): the password of the user account
- BACKUP_DIR (line 21): the backup folder (by default, the backups will be saved in the conf_backup folder of the directory where the script is executed)
We can now run the script:

We can run automatically this script, every night for example, with a cron task.
Finally, we propose to add two new features to the script:
- e-mail alert on backup failure;
- backup deletion after 30 days
E-mail alert on backup failure
Simply add the following code to lines 71 and 78:
echo "Error during the backup of pfSense" | mail -s "Auto backup pfSense - ERROR" my@adress.tldThis will result in something like this:
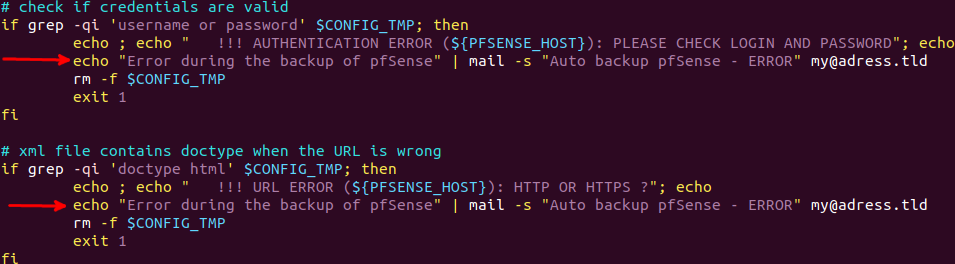
You must, of course, replace my@adress.tld by the e-mail address intended to receive the notifications.
You must also have previously configured on your server a program for sending email such as Postfix or Sendmail.
Backup deletion after 30 days
We add the following code that searches and deletes files older than 30 days in the backup folder.
# Deletion after 30 jours
find "$BACKUP_DIR/" -type f -mtime +30 -exec rm {} \;
This code is to be put at the end of the script, just before the last two lines:
echo
exit 0
Now we have a simple, practical and efficient solution to automatically backup our pfSense server.
Thanks to Mr Xhark from the french website Blogmotion for this script.
Related topics
[pfSense] Making automatic backups with AutoConfigBackup
Take a look at our firewalls
For pfSense or OPNsense
3 year warranty
Free delivery to USA, Canada, EU and UK


Hello, thank you for this tutorial.
A question: how to indicate on the script when we use a different port to manage pfsense ? 9443 for example.
Thanks
Hello,
You can specify it in the PFSENSE_HOST variable.
It will look like https://IP_ADDRESS:PORT (ie: https://192.168.1.100:9443 )
Guillaume
—
Provya
Hello,
It’s possible to add an encrypt password variable on the script, to generate and download the backup encrypted?
Thanks,
Vieira
Hello,
Yes, it is possible. You should modify the script at three places:
1/ Add the variable BACKUP_PASSWORD just under the variable PFSENSE_PASS (line 19)
PFSENSE_USER=admin

PFSENSE_PASS=pfsense1

BACKUP_PASSWORD='password for encrypted backup' #THE NEW LINE
2/ Correct the encrypt password parameter by changing the line 47 from this:
if [ -n "$BACKUP_PASSWORD" ] ; then PW="&encrypt_password=$BACKUP_PASSWORD&encrypt_passconf=$BACKUP_PASSWORD&encrypt=on" ; fito this:
if [ -n "$BACKUP_PASSWORD" ] ; then PW="&encrypt_password=$BACKUP_PASSWORD&encrypt_password_confirm=$BACKUP_PASSWORD&encrypt=on" ; fi3/ Then, add the option by changing the line 65 from this:
--data "Submit=download&download=download&donotbackuprrd=yes&__csrf_magic=$(head -n 1 $CSRF2_TOKEN)" \to this:
--data "Submit=download&download=download&donotbackuprrd=yes$PW&__csrf_magic=$(head -n 1 $CSRF2_TOKEN)" \That’s it!
Guillaume
—
Provya
Hello,
Thanks for this post, got it running on pfSense 2.7.2. I’m having a minor issue though, not a show stopper. When I enabled the encryption for the config, it downloads correctly but it does not append the pfsense host name to the saved config. Before the change the config saved as “config-pfsensehostname-date.xml” and after enabling encryption, its saving as “config-_-date.xml”. Its minor issue, everything works but it be nice if theres a way to fix that.Thanks again.
I’am on pfSense 2.7.2 and suddenly the script stopped working. The script runs in totall but the response in the config file on the backup location is this:
301 Moved Permanently
301 Moved Permanently
nginx
Anyone?